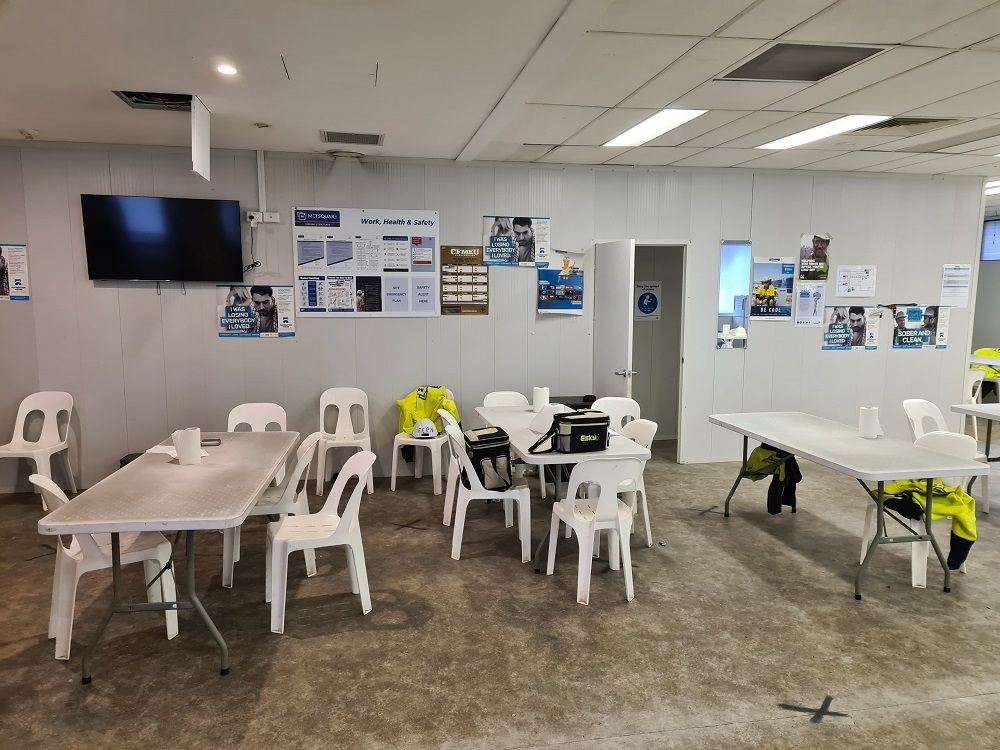
FastWall is a simple, effective solution to create an internal wall, including a ceiling on-site. Being easy to reuse and relocate from one job to another, the pre-finished panels and tracks make for a highly cost-effective setup for the site.
Available in 6 different lengths from panel sizes of 2.4m – 4.8m, the FastWall Hoarding temporary room option is fitted together with an easy tongue and groove panel to ensure fast installation and demounting.
The simple FastWall System is easily used as a tile cutting room, a hoarding or interior room, a complete temporary office, privacy barrier or even used for site amenities within a more prominent site area.
Natural colour variation is in the panels, so sometimes contractors also prefer to put a branding or plastic over the boards if it is going to be up for an extended period; if this is the case on your site, be sure to add on the hooks to hold this product to the walls and create some free branding/marketing on-site.
Contact the team at All Preparation Equipment today to discuss your temporary cutting room or hoarding barrier requirements for the site.
Ph. 1800 422 92
Web. www.allprep.com.au
APPLICATIONS THE FASTWALL HOARDING ROOM SYSTEM IS USED IN,
- Offices and fit-outs
- Hospitals and aged care projects
- Warehouses and industrial sheds or buildings
- Public buildings and airport areas
- Food processing plants
- Transport buildings or demountable
- Shopping centres, clubs and pubs
- Schools and university projects
- Comms room and IT rooms
- Data centres and Laboratories
- Clean room
With virtually no limits on application and setup, there are so many places this can be installed on.
Step by Step FastWall Floor to Ceiling Hoarding System,
- The clear area for installation and remove all hazards.
- Mark out floor for bottom tracking with low tack tape or erasable marker.
- Layout bottom track (code: FWB30, 25mm deep channel) and fix down to the floor. Make provision for door openings if required.
- Fix wall starters as required (either bottom or top track – refer to point 7).
- Fix top track (code: FWT30, 50mm deep channel) to ceiling or structural overhead member as required.
- Place in Fastwall panels and cut down to height if required using a fine-toothed handsaw, jigsaw or circular saw. If panels can be slipped into place from the open end of tracking, provide 5-15mm clearance. If panels are fitted from the front on, cut the board to a length 25mm shorter than the ceiling height to allow the board to lift up into the top track and drop down into the bottom track.
- The last panel may need to be cut for width to allow clearance. If the last panel is to be fitted tight against an existing wall, you may require a top track section, or an EC90-30 angle, to be fitted as the wall starter to allow for the clearance that the panel needs to slip into the joiner section.
- Fit 90 degree or 45 degree external corners where required.
- Door + jamb installation - 870mm wide doors work with 3 infill FastWall panels over the door head, for a single door, or 6 for a double door. (These doors are stocked). Assemble the precut aluminium jamb with corner stakes supplied.
Fit the assembled jamb, in the desired location, over the last FastWall panel installed. Fit the short panels over the door head, and continue installing full panels. Hang doors and fix off jamb to surrounding panels.
- If the hoarding requires greater stability, attach additional bracing to suitable adjacent walls, ceilings or floors etc, as required.
- FastWall Box Joiners (code: FWBJ24, FWBJ72) can be utilised to create hoardings up to 7.2m high.
Not sure part of the connection or process, contact one of the dust control team at All Preparation Equipment.
Ph. 1800 422 992
Web. www.allprep.com.au
Shop the range of FastWall parts and accessories online here, https://www.allprep.com.au/category/483-hoardings
PLEASE NOTE RE FASTWALL SYSTEM,
- It is the responsibility of the purchaser and installer to ensure that the hoarding system is suitable and safe for the application and is installed in a secure manner. Consideration may need to be given to any potential wind load from external wall openings, doors and/or window openings etc.
- The installation method and fixing requirements are to be assessed by a competent tradesperson, who is responsible to ensure that the install is carried out accordingly.
- All Preparation Equipment can provide general advice, however final responsibility lies with the purchaser and installer.
- The use of All Preparation Equipment hoardings for other applications, (eg:- edge protection, or where a wind load may apply, etc.) may require a qualified engineer to assess an appropriate support system.
- The purchaser and/or the user must ensure that, if tapes are to be used, they are appropriate for the purpose, and that tapes are not used on finished surfaces where they could cause damage or leave residue.
- Appropriate warning signage, if required, is the responsibility of the purchaser and/or the installer.


 Store Locator
 Login
Login
 Cart
Cart


